A jump-start sounds simple, but modern vehicles have sensitive electronics that expect clean, stable power. With the right steps, you can start a dead battery without risking the alternator, ECU, or networked modules.
Use this practical guide for safe boosts on the driveway.
Quick Safety Checks Before You Begin
- Do not jump the car if the battery case is swollen, cracked, frosted, or leaking.
- Turn off all loads in the disabled vehicle: lights, HVAC, rear defogger, audio.
- Set parking brakes on both vehicles; place transmissions in Park or Neutral.
- Use factory remote jump posts if equipped; they are safer than crowding the battery.
- If the negative terminal has an Intelligent Battery Sensor (IBS), plan to ground on a clean engine or chassis point, not the negative post.
Connection Sequence For Clean Power
- Red clamp to the disabled vehicle’s positive post or positive jump stud.
- Red clamp to the donor’s positive post or the pack’s positive stud.
- Black clamp to the donor’s negative post or the pack’s negative stud.
- Black clamp to a clean engine or chassis ground on the disabled vehicle.
Tips for solid contact: choose thick, bare metal, scrape light corrosion or paint if needed, and seat the jaws so they cannot twist when current flows.
Donor Vehicle or Booster Pack: What To Use
Either works if used correctly. A quality jump pack with reverse polarity warning and over-voltage protection gives the cleanest, most consistent output. If using another vehicle, leave the donor idling at normal speed. Do not rev to “add power,” since that can introduce voltage ripple that stresses electronics. In our shop, a regulated pack is the default for late-model cars because it limits spikes during cranking.
Stabilize Voltage Before You Crank
After connecting the cables, wait 2- 3 minutes with accessories off. This short pre-charge lets the dead battery rise gently and reduces the starter surge. Extremely discharged batteries may benefit from a few extra minutes. Patience here prevents clamp arcing and protects alternators.
Cranking Technique That Protects Electronics
- Crank up to 10 seconds, then rest 30 seconds to cool cables and the starter.
- Try up to 3 attempts; if it still doesn't catch, recheck the connections and battery condition.
- Stop immediately if cables smoke, the case warms, or there is a strong sulfur smell.
- Avoid repeated short cranks that hammer the donor alternator and create spikes.
Disconnecting The Right Way After It Starts
- Let the engine idle about one minute with cables still attached.
- Turn on a small electrical load, such as the rear defogger or blower on low, to absorb transients.
- Remove cables in reverse order of installation: ground off first, then positive.
- Keep clamps from touching each other or bodywork during removal.
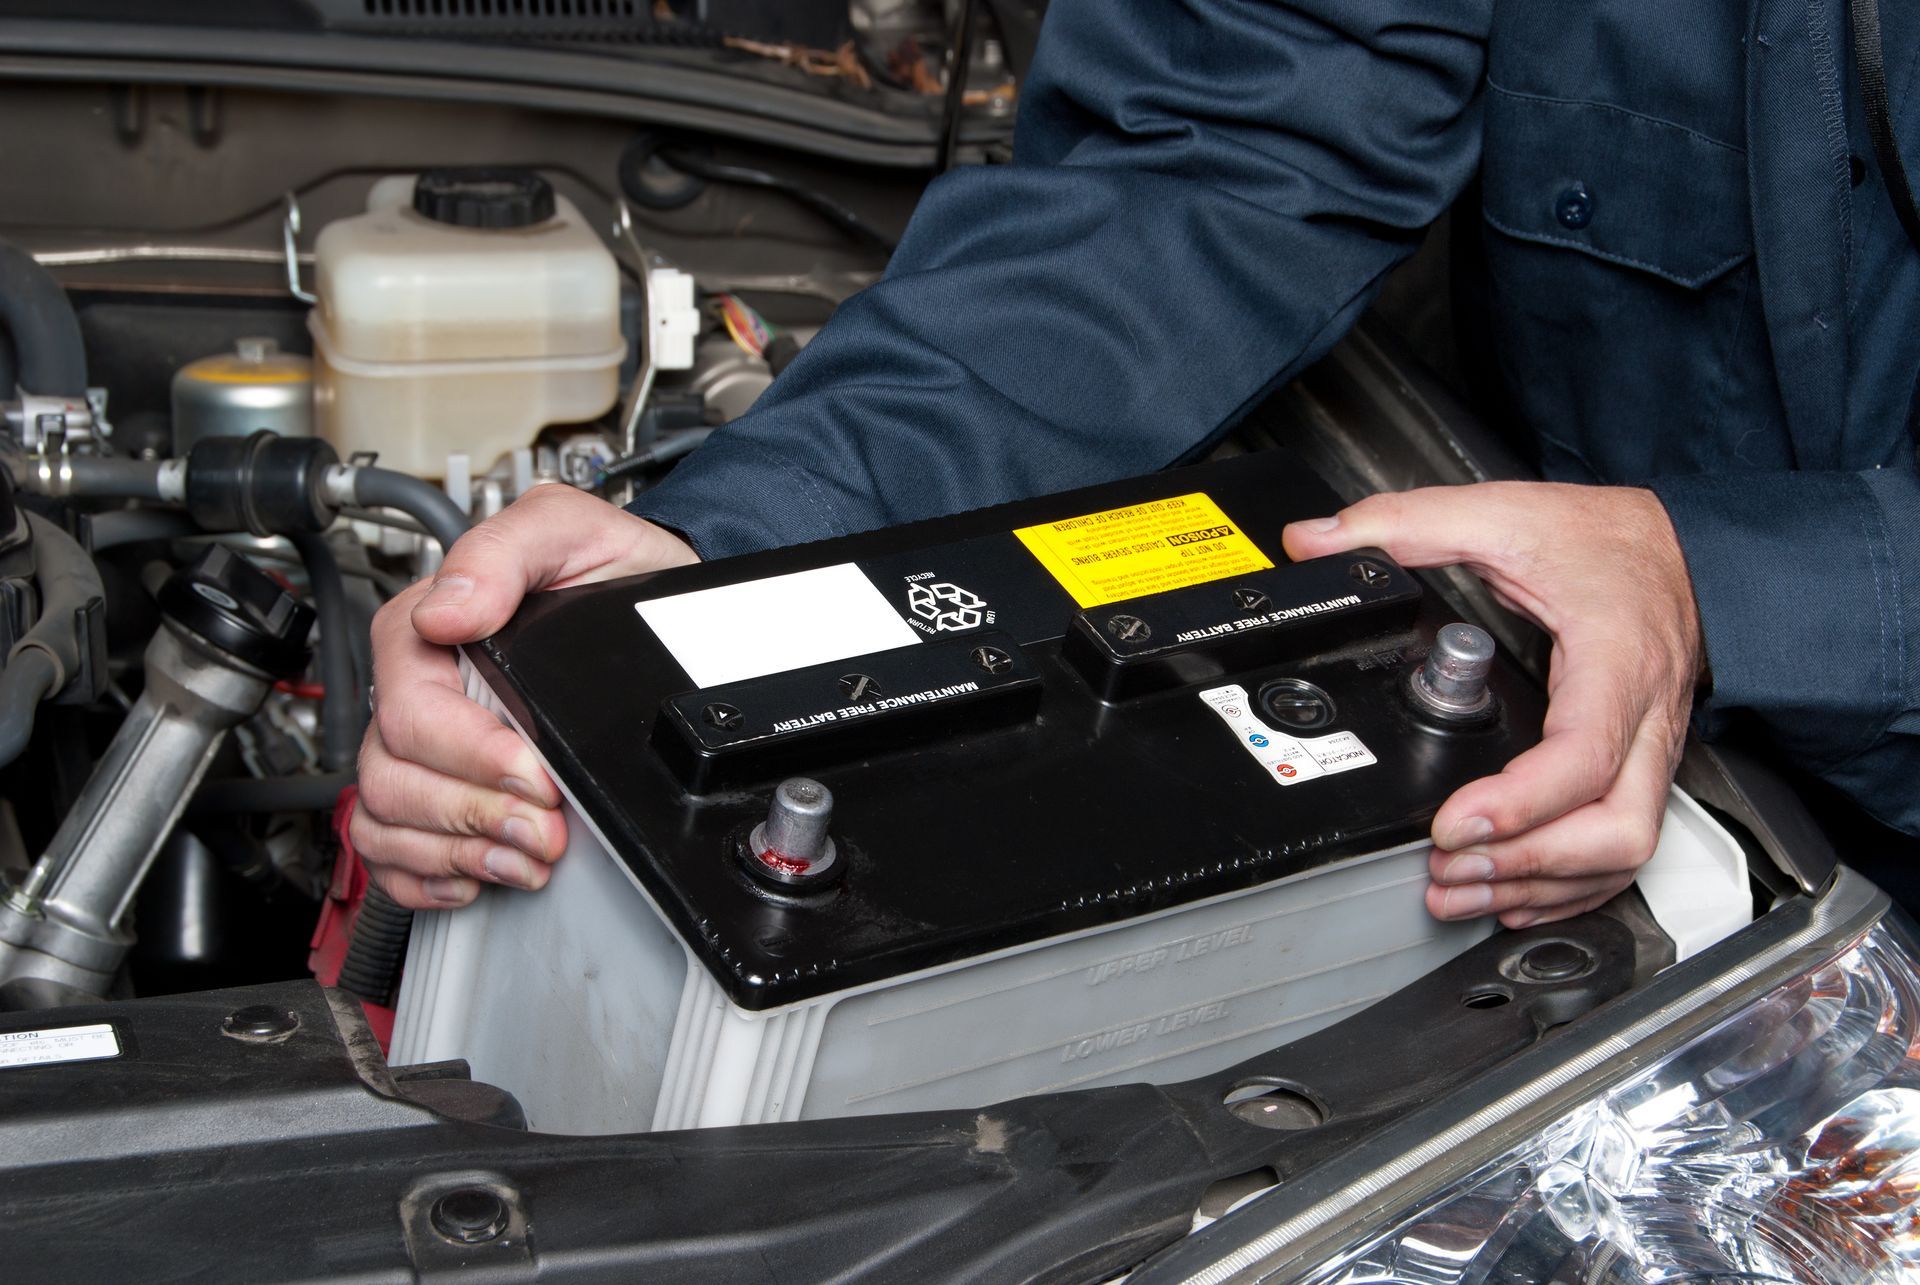
Recharge, Test, and Prevent Repeat No-Starts
Recharge On A Real Drive
Plan a twenty to thirty minute drive to replenish charge. Short trips will not fully recover a deeply discharged battery and can leave you right back where you started.
Load-Test If The Battery Is Three Years Old Or More
Schedule a proper load test to confirm capacity. A quick voltage reading is not enough to judge health after a deep discharge.
Watch For Warning Clues
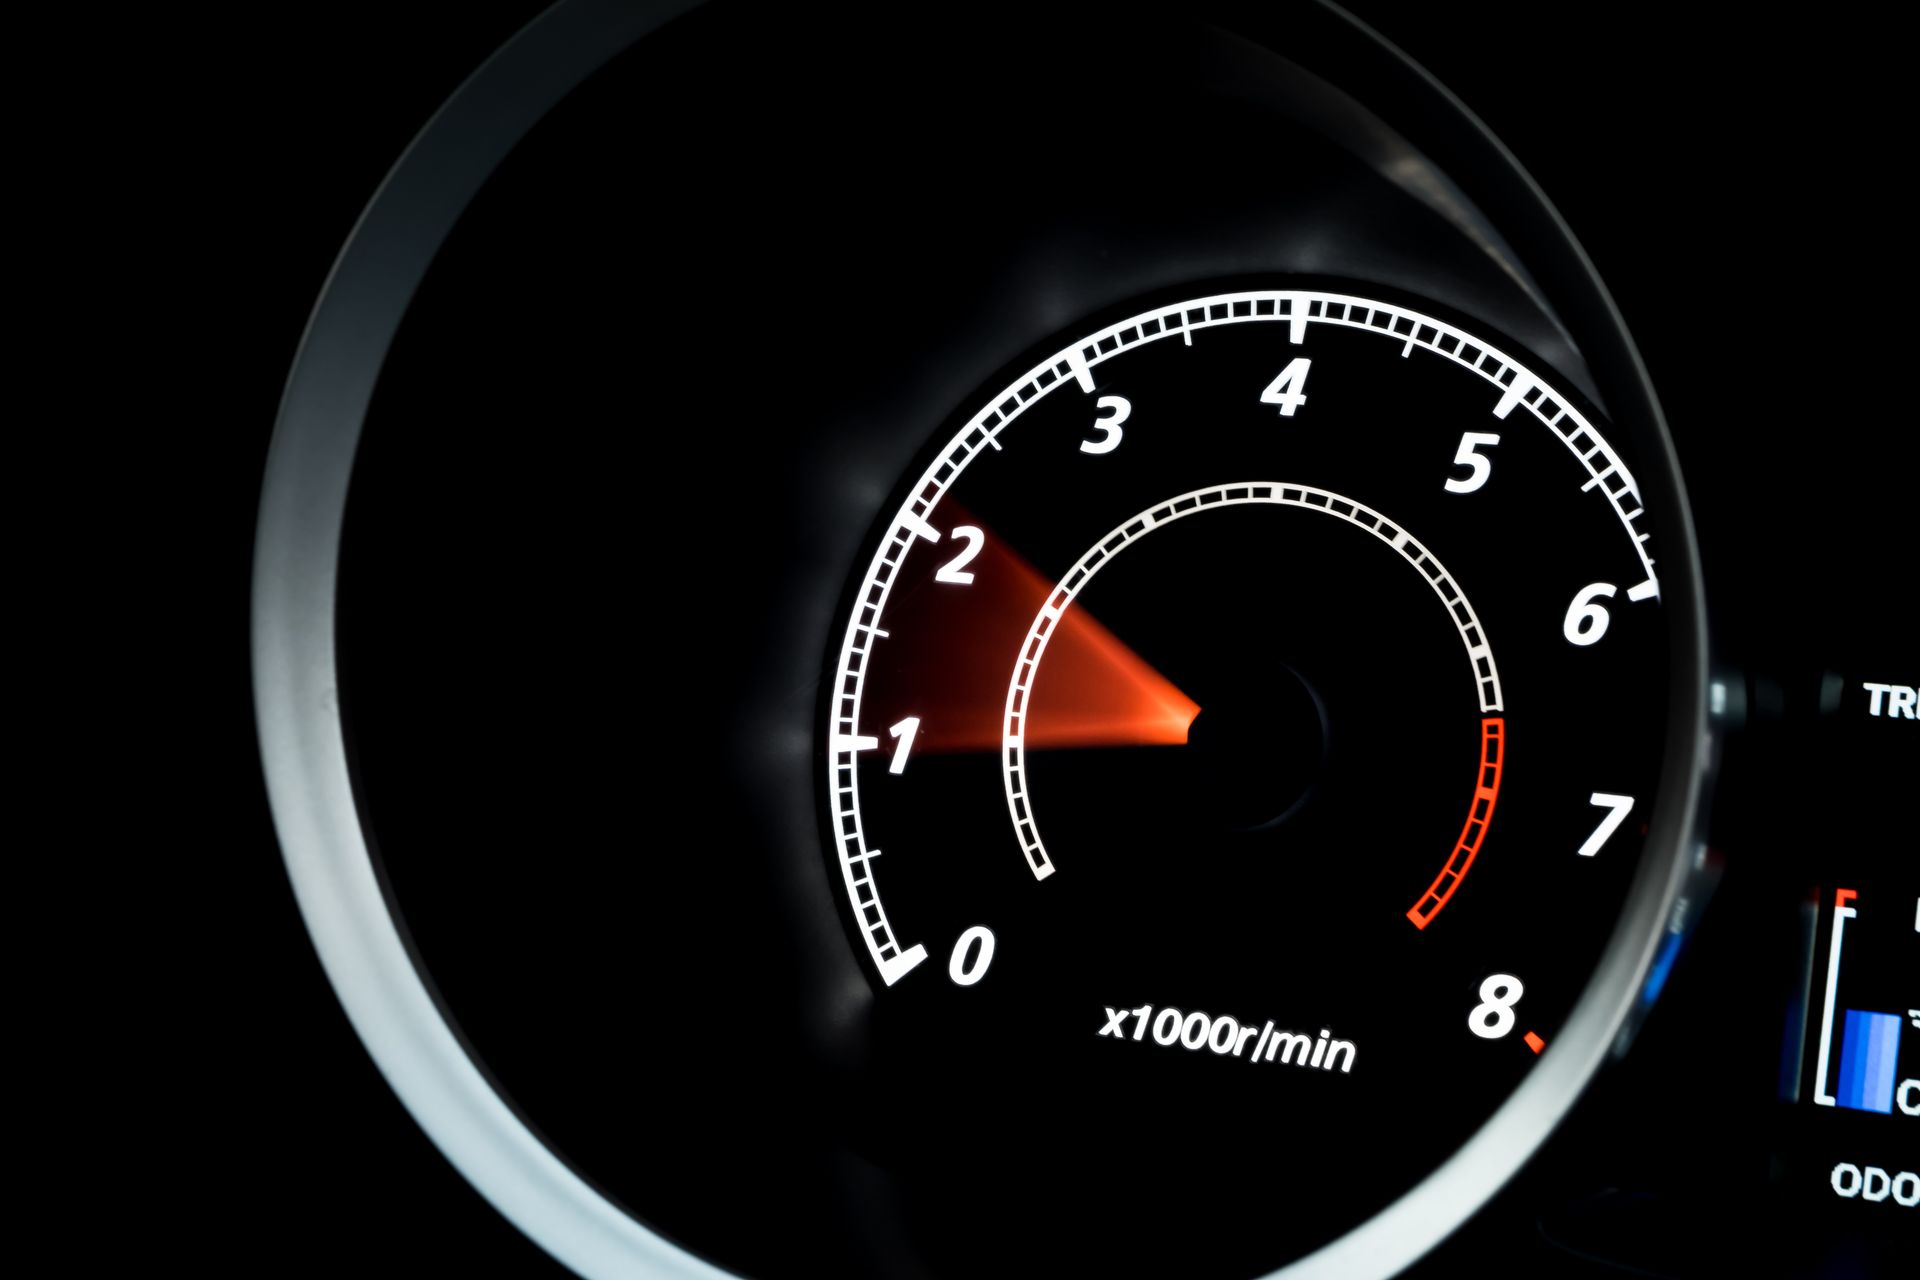
Slow cranking, lights that dim at idle, or new warning messages can indicate a weak battery or alternator ripple that deserves a quick check.
Verify With Fast Testing And Clear Results
We can test the battery and alternator in a few minutes and provide printed results so you know exactly where you stand.
Prevent Repeat No-Starts
Keep terminals clean and tight, protect major grounds from corrosion, and consider a smart maintainer if the vehicle sits.
Carry A Quality Jump Pack
A compact jump pack with built-in protections is inexpensive insurance. We keep one in our service vehicle for roadside assists.
Get Professional Help in St. Paul Park with Duffy’s Auto Service
If jump-starts keep failing or warning lights appear after a boost, visit our shop in St. Paul Park, MN. Our technicians will load test the battery, check alternator ripple, verify grounds, and confirm module health so the next start is uneventful.
Schedule a quick diagnostic and drive away with reliable starts and a clean dash.